Introduction: Why Smart Scalp Layering Changes the Game
Layering targeted topical actives (peptides), microbiome-supporting prebiotics, and evidence-backed at-home scalp devices can move you from guesswork to a deliberate, measurable program for improving hair density. Done right, this approach optimizes the scalp environment, enhances product delivery, and nudges follicles toward healthier cycles. Done wrong, it causes irritation, wasted money, and disappointment. This in-depth, practical guide helps you avoid common scalp layering mistakes and build a safe, effective routine that complements medical care when needed.
How to Read This Guide
- If you want a quick action plan, read the "4-Week Starter Program" and "Final Checklist" sections.
- If you want to understand the "why" before the "how," read the science sections on peptides, prebiotics, and devices.
- Advanced users should read the "Advanced Stacking Strategies" and "Troubleshooting" sections.
Understanding the Players: Peptides, Prebiotics and Devices
- Peptides: Short chains of amino acids that act as signals to cells. On the scalp they may modulate inflammation, support extracellular matrix production, and enhance follicle microenvironment. Common targeted peptides include copper peptides (GHK-Cu), palmitoyl tetrapeptide, and biomimetic peptides designed for hair follicle signaling.
- Prebiotics: Non-living compounds (oligosaccharides, inulin, fructooligosaccharides) that selectively feed beneficial microbes. A balanced scalp microbiome can reduce irritation, regulate sebum, and create an environment where actives perform better.
- At-home devices: Tools that change the scalp environment mechanically or with light/energy. Typical devices include microneedling rollers and pens (create microchannels), red or near-infrared LED therapy (cellular stimulation, increased blood flow), and scalp massagers (mechanical stimulation to increase circulation and product distribution).
Scalp Physiology Basics That Matter for Layering
- The scalp barrier is made of stratum corneum and hair follicle epithelium; it can be disrupted by over-exfoliation and harsh detergents.
- The scalp microbiome includes Malassezia, Cutibacterium, Staphylococcus and other genera; imbalance can cause itch, flaking, and inflammation that reduces active efficacy.
- Hair density gains require sustained, consistent intervention over months; most topical/device strategies aim to optimize follicle conditions rather than provide immediate dramatic regrowth.
Which Peptides Work on Scalp — and How They Differ
- GHK-Cu (Copper peptide): A multifunctional peptide that can support collagen signaling, wound healing, and follicle health. Note: copper can interact with certain actives.
- Palmitoyl tetrapeptide-3 / palmitoyl tetrapeptide-7: Biomimetic peptides that aim to modulate cytokine signaling and support extracellular matrix.
- Biomimetic growth-factor peptides: Designed to mimic signaling molecules that can support hair follicle activity; potency and formulation matter for scalp tolerance.
- Carrier systems and vehicle: Delivery vehicles (lightweight serums, alcohol-free bases, micelles) affect absorption and irritation risk—pick a formulation suited for the scalp (non-comedogenic, non-occlusive).
Prebiotic Ingredients to Look For
- Fructooligosaccharides (FOS) and inulin: Common prebiotic oligosaccharides that nourish beneficial microbes.
- Beta-glucans and certain polysaccharides: May support barrier function and microbial balance.
- Postbiotic additions: Fermentation extracts and niacinamide-like compounds can help barrier repair and reduce inflammation when combined with prebiotics.
Device Deep Dive: What Each Device Does and How to Use It Safely
-
Microneedling (rollers, pens)
- Purpose: Creates microchannels to increase topical absorption, stimulates wound-healing signals that can activate follicle microenvironments.
- At-home depths: 0.25–0.5 mm for serums and enhanced absorption; 0.75–1.0 mm and above should be reserved for professional settings or trained users and used less frequently.
- Frequency: 0.25 mm can be used weekly to biweekly; 0.5 mm every 2–4 weeks. Hygiene is essential to avoid infection.
-
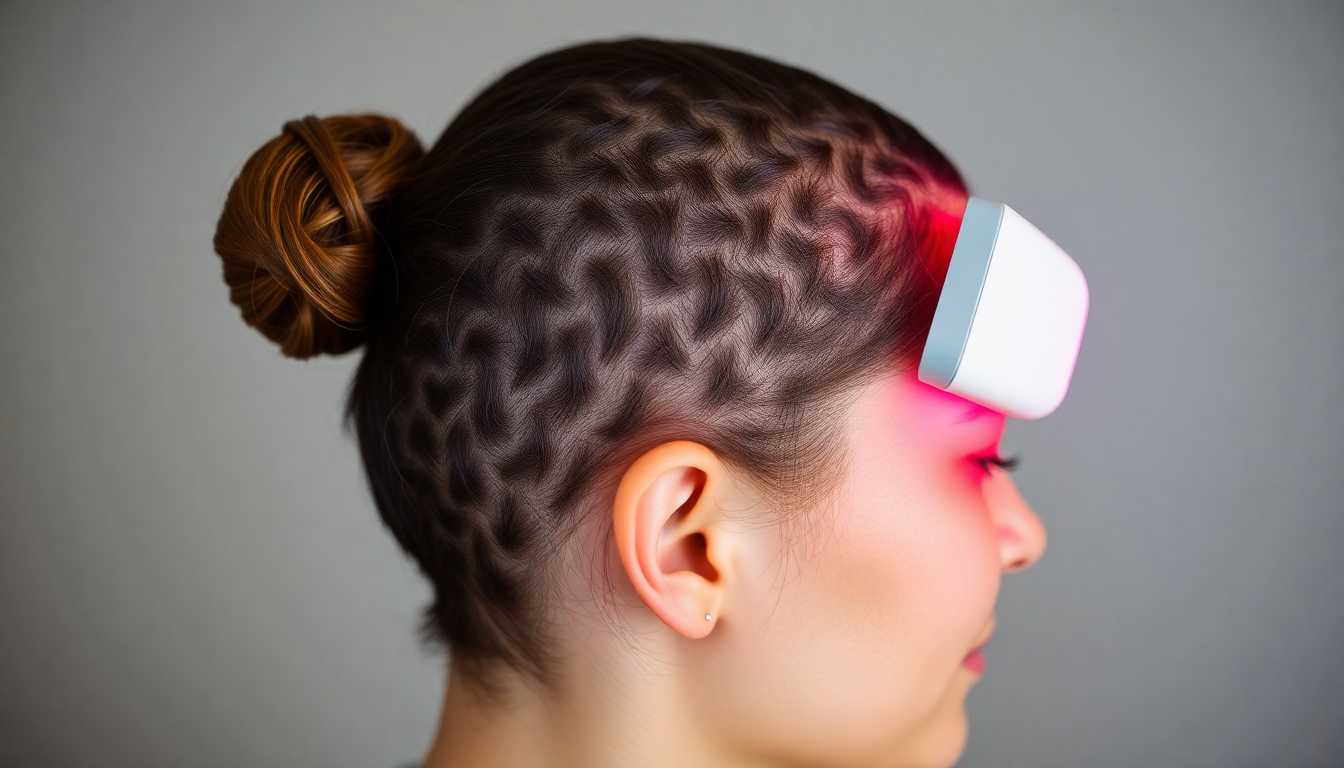
Red and near-infrared LED therapy
- Wavelengths: Red 630–670 nm and near-infrared ~810–850 nm are common for hair protocols.
- Mechanism: Cellular photobiomodulation can support mitochondrial activity, circulation and reduce inflammation.
- Dosage: Typical at-home sessions are 10–20 minutes, 3–5x weekly depending on device power. Follow manufacturer dosimetry.
-
Scalp massagers and mechanical stimulators
- Purpose: Increase blood flow, help distribute product, and provide gentle mechanical stimulation of follicles.
- Use: Daily 1–5 minutes during application or washing is safe for most people.
Core Layering Principles: The Rules You Must Follow
- Layer from thinnest to thickest — aqueous serums first, then creams or oils.
- Avoid applying highly potent actives to freshly needled skin — wait 24–72 hours depending on needle depth and irritation.
- Introduce only one new variable (product or device) at a time and wait 2–4 weeks to assess response.
- Patch test every active or device on a small area for 48–72 hours before full use.
- Document baseline photos and notes; measure progress every 4–8 weeks.
Expanded List of Scalp Layering Mistakes to Avoid
- Applying everything at once: Stacking multiple actives and a device on the same day increases irritation risk and makes it impossible to know which element caused a reaction.
- Improper timing after microneedling: Microneedling temporarily removes part of the superficial barrier. Applying acidic or alcohol-based serums immediately after can cause burning and long-term sensitivity.
- Mixing copper peptides with vitamin C or buffers: Copper peptides may be destabilized by low pH ascorbic acid formulations; separate by time of day or alternate days.
- Using high-frequency needling too often: Frequent needling increases inflammation, which can paradoxically weaken follicles.
- Ignoring microbiome health: Potent actives can't perform optimally on an inflamed, colonized scalp; prebiotic care often needs to come first.
- Assuming "natural" equals safe: Natural oils and botanical extracts can be sensitizing; they should be patch-tested like any active.
- Not cleaning devices: Poor device hygiene can cause infections or folliculitis; always disinfect rollers and pens and follow storage recommendations.
- Using devices with open wounds or active scalp disease: Conditions like psoriasis plaques, infected lesions, or severe seborrheic dermatitis require professional guidance before using devices.
Practical, Step-by-Step Layering Protocols
Below are conservative to advanced programs. Use the conservative plan if you are new or have sensitive skin.
Conservative Starter Routine (beginner)
- Daily AM: Gentle prebiotic shampoo/cleanser, water rinse, lightweight peptide serum (if non-irritating), sunscreen if scalp is exposed.
- Daily PM: Cleanse if needed, apply peptide serum nightly, gentle scalp massage 2–3 minutes.
- Devices: LED 3x weekly for 10–15 minutes. No microneedling for first 6–8 weeks.
Intermediate Routine (after 6–8 weeks of tolerance)
- Daily AM: Prebiotic cleanser, antioxidant (if desired), leave-on prebiotic treatment.
- Daily PM: Alternate peptide serums (rotate two formulations to avoid adaptation), scalp massager 2–3 minutes.
- Devices: LED 3–5x weekly; introduce microneedling at 0.25–0.5 mm every 2–3 weeks. After needling, use calming prebiotic products for 48 hours, resume peptides once skin calms.
Advanced Routine (clinician-guided)
- Alternate strong actives and acid exfoliants on non-needling days.
- Use targeted peptide complexes post-LED to enhance cellular responsiveness.
- Schedule microneedling sessions 4–8 weeks apart with a professional for deeper treatments.
- Work with a dermatologist if combining prescription treatments (finasteride, topical minoxidil, topical steroids).
How to Patch Test and Monitor Tolerance
- Choose a discrete area behind the ear or on the nape.
- Apply a pea-sized amount of the product once daily for 3 days. Observe for redness, itching, or flaking.
- If using a device, test at the lowest setting for one session and wait 48–72 hours to observe reaction.
- Record notes and a photo for comparison.
Hygiene: Device Cleaning and Product Storage
- Microneedling devices: Clean immediately after use with warm water, then disinfect with 70% isopropyl alcohol. Replace disposable cartridges as recommended.
- LED devices: Wipe the treatment surface with a soft cloth and mild disinfectant if needed; avoid submerging unless rated waterproof.
- Products: Store peptides and active serums as directed (some require cool, dark storage). Avoid contamination by using dropper caps correctly and not touching applicators to skin.
Advanced Stacking Strategies (What Experienced Users Do)
- Use LED therapy immediately before applying peptides in the evening to prime cells for absorption (wait a few minutes for cooling/comfort).
- Schedule microneedling on a night when you can rest the scalp afterward and avoid sun exposure for 48 hours.
- Cycle copper peptides with other peptide complexes on alternate days to limit potential interactions and maximize diverse signaling.
- Combine a prebiotic leave-on for 2–4 weeks before introducing microneedling to reduce baseline inflammation and optimize healing.
Shopping Guide: How to Choose Products and Devices
- Look for peptide products formulated specifically for the scalp: non-greasy, non-comedogenic, fragrance-free options are best for daily use.
- Choose prebiotic cleansers with evidence-based ingredients (inulin, FOS) and minimal irritants like high concentrations of sulfates or essential oils if you have sensitive skin.
- Select LED devices with clear wavelength specifications (630–670 nm red, ~800–850 nm near-infrared) and published session guidance.
- For microneedling, pick reputable brands with clear needle-length guidance and replaceable sterile cartridges for hygiene.
- Consider curated kits that pair prebiotic cleansers and peptide serums — they reduce guesswork. For example, curated kits that include a scalp peptide serum and prebiotic cleanser can simplify safe layering; the Eelhoe hair density kit is an example of a curated approach that pairs supportive products.
How to Measure Progress: What to Track and When
- Photographs: Take standardized photos under consistent lighting every 4 weeks.
- Hair counts: For small target areas, count shed hairs after washing or brushing to track shedding trends (expect some transient changes).
- Scalp condition: Track flaking, itch, oiliness, and comfort — improvements in scalp health are early indicators.
- Density metrics: If you have access to digital imaging or dermatologist assessments, measure terminal hair density at 3 and 6 months for objective changes.
Realistic Timeline and Expectations
- Scalp health improvements (less itch, reduced flaking): often 2–6 weeks with prebiotic care.
- Improved hair thickness or reduced miniaturization signs: typically 3–6 months of consistent therapy.
- Notable density gains: 6–12+ months depending on baseline condition, adherence, and intervention intensity.
Detailed Troubleshooting: Examples and Solutions
- Persistent burning after product application: Stop all actives for 72 hours. Reintroduce a single gentle prebiotic product and avoid acids or alcohol-based toners.
- Sudden increase in dandruff or flaking: You may be reacting to a new product; switch to a gentle prebiotic cleanser and consider antifungal medicated shampoos only if recommended by a professional.
- Prolonged or severe shedding after starting a regimen: Short-term shedding can be a telogen effluvium response. If shedding is heavy or prolonged, consult a dermatologist—rule out systemic causes.
- Device-induced local infection or folliculitis: Stop device use, clean the area and seek medical advice; consider topical antibiotics if prescribed.
Case Study (Hypothetical Example) — From Flaky Scalp to Noticeable Density
Claire, 42, noticed diffuse thinning and persistent scalp flaking. She followed a conservative plan: switched to a prebiotic scalp cleanser, used a gentle peptide serum nightly, and incorporated LED therapy 3x/week. After 8 weeks, flaking had reduced and scalp comfort improved. At 3 months she introduced microneedling (0.5 mm) every 3 weeks with careful post-procedure prebiotic-only care for 48 hours. By month 6 she reported improved hair thickness and clinician photos showed reduced miniaturization. She continued the regimen with maintenance LED and weekly scalp massages.
Expanded FAQs
- Can peptides cause hair shedding? Not directly. Early shedding sometimes occurs when follicles shift phases as a response to a new stimulus. If shedding is severe or sustained beyond 3 months, seek professional evaluation.
- Are prebiotics effective if I already use medicated shampoos? They can be complementary. Use prebiotics to build scalp resilience and consider alternating medicated shampoos as needed under guidance.
- Can I use oils like castor oil with peptides and devices? Use oils cautiously. Heavy oils can occlude microchannels after microneedling and may trap bacteria. If using oils, apply them on non-needling days and patch-test for sensitivity.
- Can I use LED therapy every day? Daily LED can be tolerated for short periods, but most evidence-based protocols recommend 3–5 sessions per week. Follow the device instructions.
Illustrations and Visual Aids
 Illustration: Correct layering order for peptides, prebiotics and devices.
 Illustration: Microneedling depths and recommended frequency.
 Illustration: LED wavelength options and session recommendations.
 Illustration: Example scalp peptide serum to support a layered regimen.
Legal and Safety Notes
This guide offers practical, non-prescriptive information for cosmetic scalp care. It is not a substitute for medical diagnosis or treatment. If you have active scalp disease, sudden hair loss, or are on prescription treatments, consult a dermatologist before starting or combining devices and actives.
Final Checklist Before You Start
- Patch test each product and device at the lowest setting.
- Start with prebiotic scalp care for 2–4 weeks to reduce baseline inflammation.
- Introduce one active or device at a time and document responses with photos.
- Follow hygienic device protocols and manufacturer instructions carefully.
Conclusion: Build a Sustainable, Evidence-Minded Routine
Effective scalp layering is about strategy, not complexity. Prioritize scalp health with prebiotics, choose targeted peptide serums formulated for the scalp, start devices conservatively, and avoid stacking everything at once. Consistency and careful monitoring are the most reliable paths to real hair density improvements.
For those who prefer curated solutions that reduce guesswork, consider kits that pair prebiotic cleansers with targeted peptide serums. For example, the Eelhoe scalp peptide serum and the Eelhoe hair density kit are formulated to work together in a layered regimen and include prebiotic support. Explore the full range at Eelhoe Cosmetics to find products designed to simplify safe layering and help you pursue measurable density gains.
Ready to get started? Begin with a prebiotic cleanse and a single peptide serum, add LED therapy 3x weekly, and build slowly—track your progress and consult a professional for advanced strategies.
Note: If you experience severe scalp reactions, intense pain, signs of infection, or rapid hair loss, stop the regimen and consult a healthcare professional immediately.


Hinterlasse einen Kommentar
Alle Kommentare werden vor der Veröffentlichung geprüft.
Diese Website ist durch hCaptcha geschützt und es gelten die allgemeinen Geschäftsbedingungen und Datenschutzbestimmungen von hCaptcha.